 English
 Bahasa Melayu
 Suomen kieli
 عربي
عربي  Português
 Français
 Pусский
 Español
What Are the Signs of a Failing DC Circuit Breaker in a PV System?


DC circuit breakers are the unsung heroes of photovoltaic systems. They protect your solar array, inverters, and cables from overcurrent and short-circuit conditions. But like all electrical components, they degrade over time. A failing DC breaker doesn't always fail completely—it often gives warning signs long before it stops working altogether.
The stakes are high. An analysis of 340+ commercial PV installations between 2022–2024 found that 71% of unplanned outages traced directly to DC-side protection component failures. DC arcs can reach temperatures exceeding 5,000°C, and because DC current has no natural zero-crossing point like AC, arcs don't self-extinguish. A failed breaker that doesn't trip when needed can lead to fire, equipment damage, or complete system collapse.
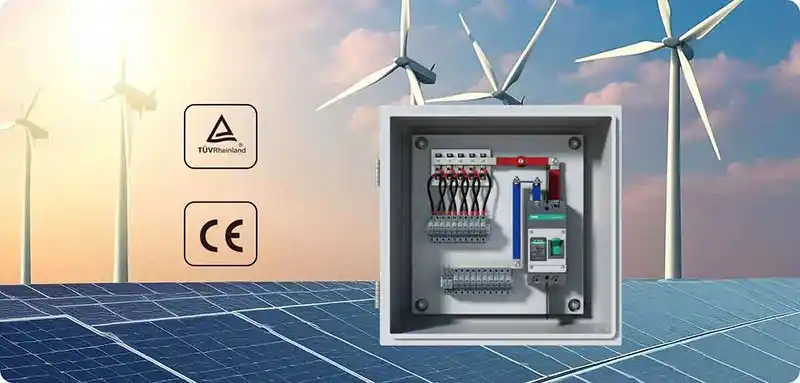
The good news? Your senses are your first line of defense. This guide walks you through the warning signs of a failing DC circuit breaker—organized the way you'd actually inspect them: by what you see, hear, feel, smell, and what the system tells you.
What You See – Visual Indicators
Visual inspection is the most accessible and effective first step. A quick walkthrough of your combiner box or DC distribution panel can reveal multiple failure precursors.
Discoloration
Yellow, brown, or black discoloration on the breaker housing or around terminal connections is a clear sign of overheating. This typically results from sustained high temperatures caused by loose connections, contact resistance, or prolonged overcurrent conditions. In one documented case, a homeowner noticed a DC disconnect box had turned brown around the edges—when opened, the internal switch was partially melted and had been arcing.
A 2023 field study found that 18% of DC combiner box failures were traced to incorrectly torqued terminals, with the result being heat buildup, melted insulation, and arc tracking across the device surface.
Cracks or Melting
Plastic housing that shows cracks, melting, or deformation is a red flag. Cracks compromise the breaker's ability to contain internal arcs and can allow moisture ingress. Melted plastic indicates severe overheating—often from internal arcing or contact resistance that has gone unchecked for too long. If you see melting, replace the breaker immediately.
Corrosion
White, green, or powdery deposits on terminals—or rust on metal components—signal corrosion. Corrosion increases contact resistance, which generates heat and accelerates degradation. In outdoor or coastal installations, this is particularly common. Tinned copper terminal lugs can help protect against oxidation and galvanic corrosion, but once corrosion is visible on the breaker itself, replacement is the safest course.
Handle Position
A breaker's handle should sit firmly in either the ON or OFF position. If the handle is in the middle—between ON and OFF—the breaker has tripped due to a fault. But more concerning is a handle that feels loose, wobbly, or lacks a crisp "click" when toggled. This indicates mechanical wear in the internal mechanism and means the breaker may not reliably trip or reset when needed.
What You Hear – Auditory Indicators
Sound is an often-overlooked diagnostic tool. With the system under normal load, take a moment to listen carefully at your combiner box or DC panel.
Buzzing or Humming
A continuous buzz or hum during normal operation is not normal. It typically indicates one of three problems: a loose internal component vibrating under load, contact wear causing micro-arcing, or the breaker operating near its trip threshold.
In DC systems, buzzing can also result from loose terminations—if the terminal screw wasn't torqued to manufacturer specifications, the wire sits loosely and creates vibration. Unlike the mild hum that can sometimes occur in AC breakers due to 60-cycle magnetic fields, DC buzzing under load is a warning that should not be ignored.
Clicking Without Operation
Hearing internal clicking sounds when no one has operated the breaker—and when no fault is apparent—may indicate a failing thermal trip mechanism. The bimetallic strip inside the breaker can become fatigued or degraded, causing it to make contact intermittently. This is a precursor to nuisance tripping or, worse, failure to trip when actually needed.
Loose Handle Rattle
If the handle rattles or feels loose when touched (even without operating it), the internal mechanical linkage is worn. This often accompanies the "loose handle" visual indicator mentioned above.
What You Feel – Tactile Indicators
Your hands can detect problems that your eyes and ears might miss—but always exercise extreme caution. Never touch terminals or energized parts. Use the back of your hand to cautiously check breaker housing temperatures, and only when the system is operating under normal conditions.
Abnormal Heat
Under identical load conditions, a breaker that feels noticeably hotter than adjacent breakers is a warning sign. Heat comes from resistance—either at the terminals or inside the contacts.
Thermal imaging cameras are the professional tool for this check. A single overheated connection can reduce generation, accelerate component wear, and raise fire risk. If you don't have a thermal camera, a contactless infrared thermometer can serve as a reasonable substitute.
Handle Resistance
When operating the handle, it should move with smooth, consistent resistance. Too loose means mechanical wear. Too stiff or sticky means internal contamination, corrosion, or mechanical binding. Neither is normal.
Loose Terminals
If terminals feel loose even after re-tightening, the internal threads may be stripped or the terminal block damaged. DC connections tend to loosen over time due to thermal cycling—daily expansion and contraction from heating and cooling. Persistent looseness after proper torquing indicates the terminal itself is compromised and the breaker should be replaced.
What You Smell – Olfactory Indicators
Smell is often the first—and most urgent—warning sign of a serious problem. If you detect any unusual odor from your DC distribution equipment, investigate immediately.
Burning Smell
A strong burning or acrid plastic smell indicates that internal components have already experienced arcing or overheating. The odor comes from melting insulation, carbonizing arc chutes, or degrading plastic housing. If you smell burning, power down the system (if safe to do so) and investigate immediately. Do not reset a breaker that smells burnt—it needs replacement.
Fishy Odor
Certain plastics used in electrical equipment release a distinctive fishy or "electrical" odor when overheated. This comes from the breakdown of insulating materials and is a less common but equally serious warning sign. Any unusual smell warrants immediate attention.
Electrical Signs – What the System Tells You
Beyond your physical senses, the system itself provides critical diagnostic data through its behavior.
Nuisance Tripping
A breaker that trips repeatedly under normal load conditions—with no apparent overcurrent or fault—is experiencing nuisance tripping. This is one of the most common failure modes in PV systems.
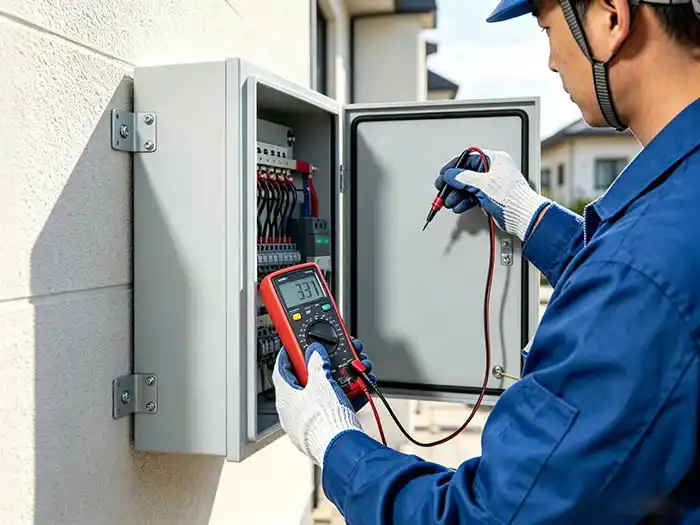
Common causes include:
-
Thermal oversensitivity: Bimetallic strips degrade or drift over time
-
Magnetic trip unit drift: The instantaneous trip mechanism becomes mis-calibrated
-
Incorrect trip curve: C-curve breakers may trip during cloud-edge events or morning irradiance ramp-up
-
Loose connections: Added resistance generates false I²R heating
In one 2 MW ground-mount array, replacing C-curve breakers with D-curve units reduced nuisance trips by 73%. But if nuisance tripping persists after ruling out external causes, the breaker itself is likely failing.
Failure to Trip
This is the most dangerous failure mode. If a breaker does not trip during a fault or when tested, you are at risk of fire from cables burning up. Contact welding—where the internal contacts fuse together—can prevent the breaker from opening under fault conditions. In DC systems, if a breaker fails to generate a zero point and interrupt the current, the fault will expand and can cause a large fire.
Test your breakers periodically by manually tripping them to ensure the mechanism operates freely.
Voltage Drop
A healthy DC breaker has very low resistance—typically milliohms. If you measure a significant voltage drop across the breaker under load, internal contact resistance has increased. This generates heat, wastes energy, and indicates contact wear or oxidation. Industry best practice limits DC voltage drop to 1-2% for string wiring—any drop across the breaker itself beyond negligible levels is a problem.
When to Replace – A Decision Guide
Replace immediately if you observe:
-
Melted or charred housing
-
Burning or fishy smell
-
Failure to trip during testing
-
Visible arcing or carbon tracking
-
Handle stuck or completely loose with no detent
Replace soon (within weeks) if you observe:
-
Persistent nuisance tripping
-
Discoloration or yellowing of housing
-
Unusual heat compared to adjacent breakers
-
Corrosion on terminals
-
Buzzing or humming under load
-
Handle feels loose or sticky
Consider preventive replacement if:
-
The breaker has been in service for 10+ years—even without visible signs
-
The system has experienced multiple fault interruptions
-
The breaker is from a batch known for quality issues
-
You're upgrading system voltage
Schneider Electric recommends conducting comprehensive diagnosis and component replacement every 5 years or after a malfunction. For fuse-based protection, IEC 60269-6 recommends replacement every 10 years or after fault interruption—a similar principle applies to circuit breakers.
Frequently Asked Questions
Q1: Can a failing DC breaker still work sometimes?
Yes—and that's what makes it dangerous. Intermittent failures are the most hazardous because the breaker may test fine but fail when actually needed. A breaker with contact welding might reset and appear to work, but the welded contacts can prevent it from opening under fault conditions. Never assume a breaker is safe just because it "seems to be working."
Q2: How often should I inspect my DC breakers?
Visual and tactile inspection: Every 6 months
-
Check for discoloration, cracks, corrosion
-
Feel for abnormal heat
-
Listen for unusual sounds
Functional trip test: Annually
-
Manually trip and reset
-
Verify smooth operation
Thermal imaging inspection: Annually
-
Identify hotspots across breakers and terminals
-
Compare temperatures between identical breakers
Full performance testing: Every 2-3 years
Q3: Is it safe to replace a DC breaker myself?
Only if you are qualified and follow proper safety procedures. DC voltages in PV systems commonly reach 600V, 1000V, or even 1500V—well above lethal thresholds. Before attempting replacement:
-
De-energize the system and isolate the circuit
-
Verify zero voltage with a calibrated multimeter rated CAT III 1000V DC
-
Lock out/tag out to prevent accidental re-energization
-
Use breakers specifically rated for DC and for your system voltage—never substitute AC breakers
If you lack electrical training or experience, hire a qualified solar technician.
Summary & Next Steps
A failing DC circuit breaker rarely fails without warning. By regularly engaging your senses—seeing discoloration, cracks, and corrosion; hearing buzzing and clicking; feeling heat and handle irregularities; smelling burning odors—you can catch problems early. The system itself provides additional clues through nuisance tripping, failure to trip, and voltage drop.
Don't wait for a breaker to fail catastrophically. Inspect every 6 months, test annually, and replace at the first sign of trouble. Your PV system's safety and reliability depend on it.